In sapphire watch cover production, up to 20% of parts are rejected after costly processing because internal defects – bubbles, cracks or clouds – are discovered too late. SapphiroScan™ reveals these and other internal defects in non‑polished and polished covers of any shape, ensuring that only quality parts proceed to processing.
Overview
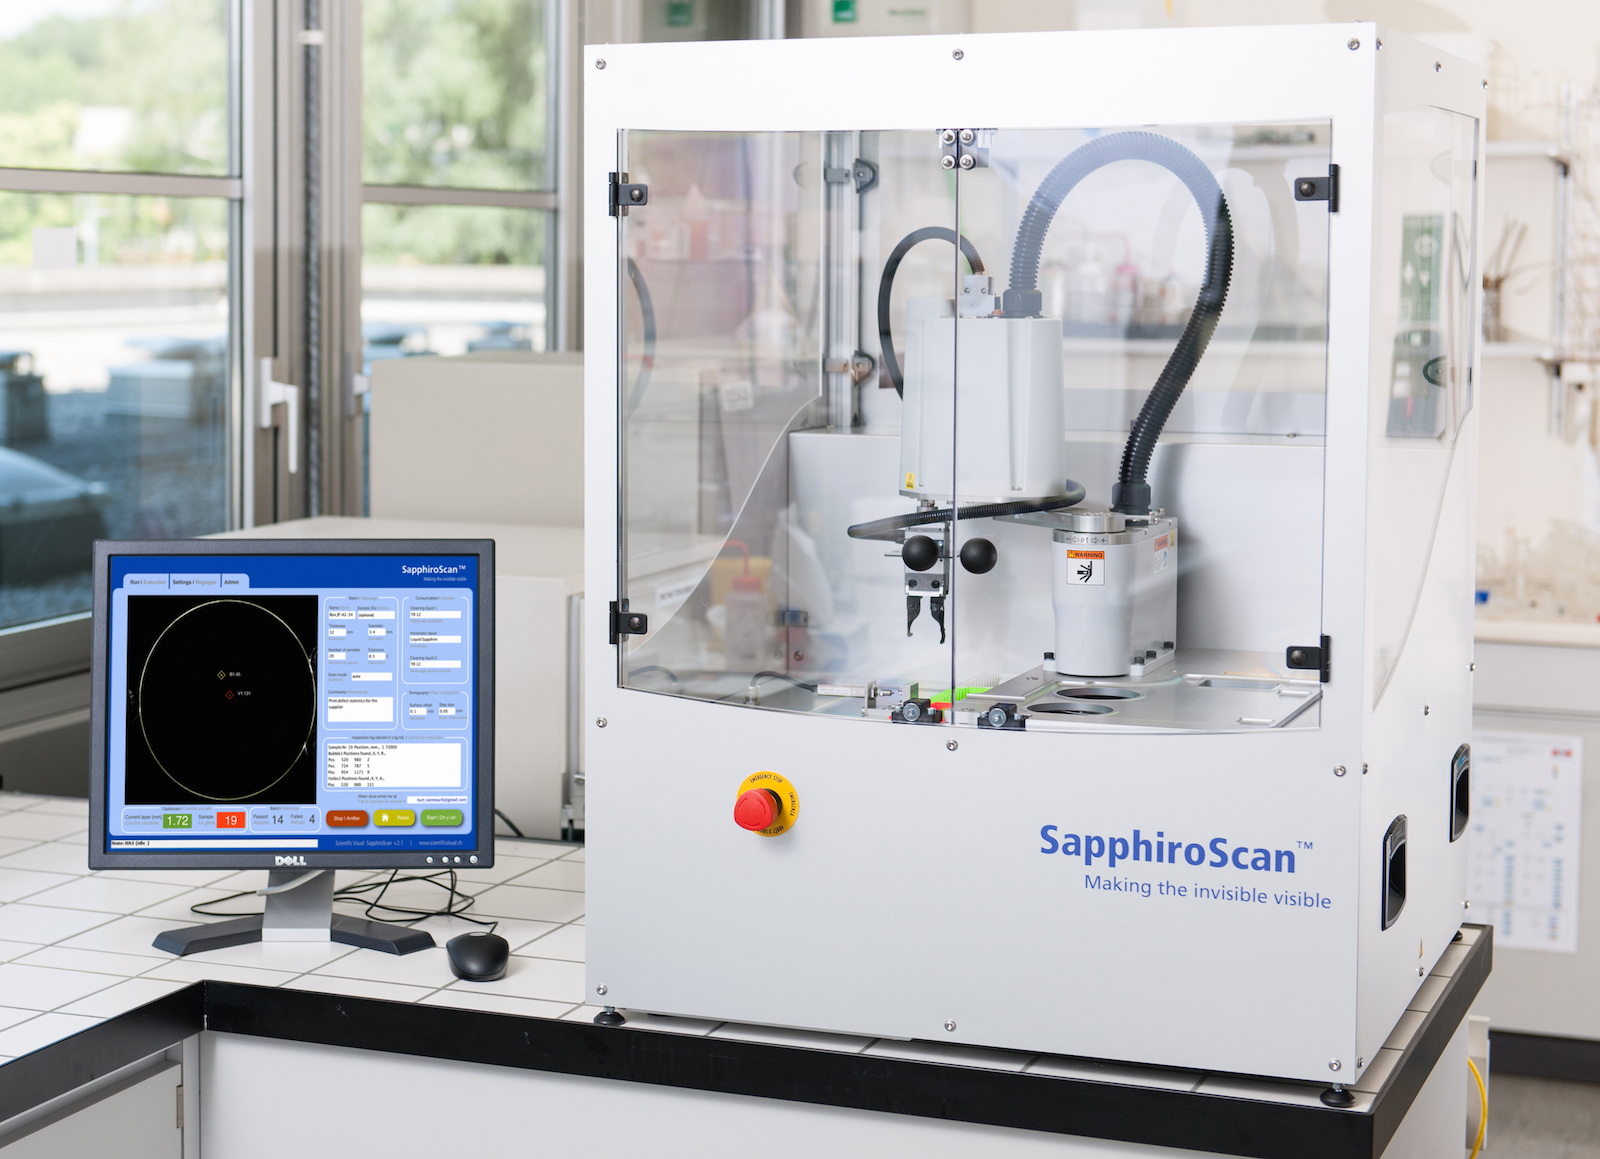
SapphiroScan™ is a world‑leading solution for fully automated detection of material defects in sapphire watch covers.
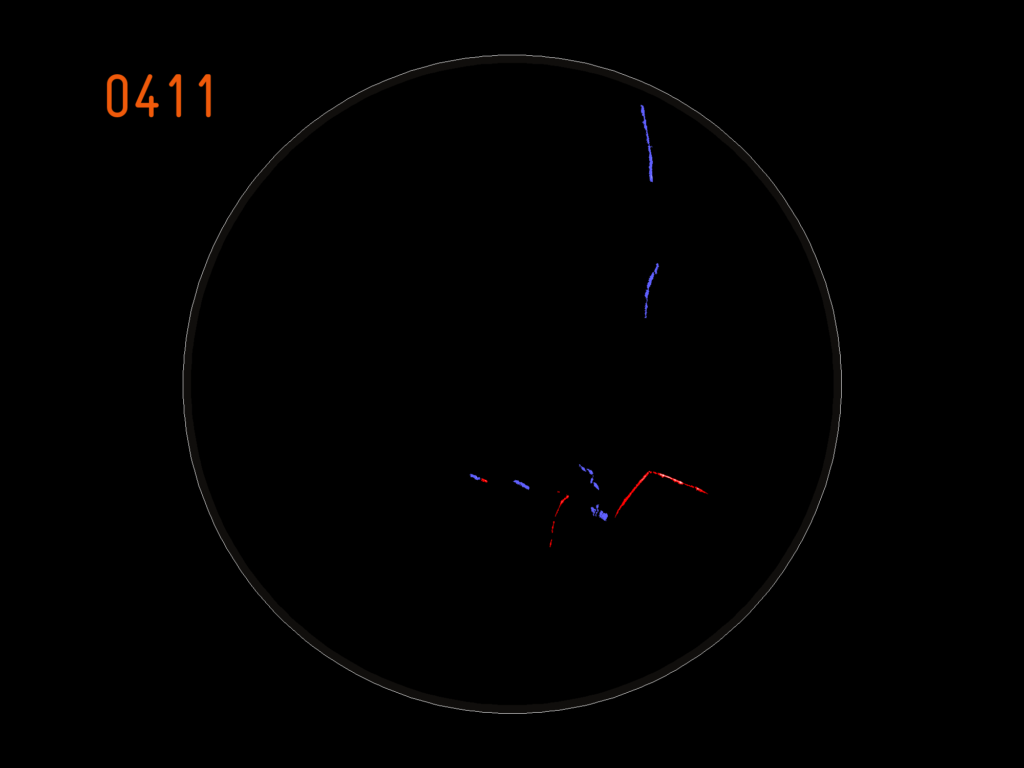
It automatically maps internal defects, regardless of their type, size or location. This approach works with or without prior polishing of the covers, so defective pieces are automatically eliminated before going to the next stage.
Unlike manual quality inspection, SapphiroScan™ delivers objective quality control and operates independently of the operators’ skill.
How it helps
- Automatic removal of defective parts before costly processing
- Early warning of process drift in crystal growth and polishing
- Objective quality indicators to support factual discussions with brand suppliers and customers.
- Enables data-driven correlations between defect patterns and field returns or process issues, such as breakage, stress performance or engraving faults.
How it works
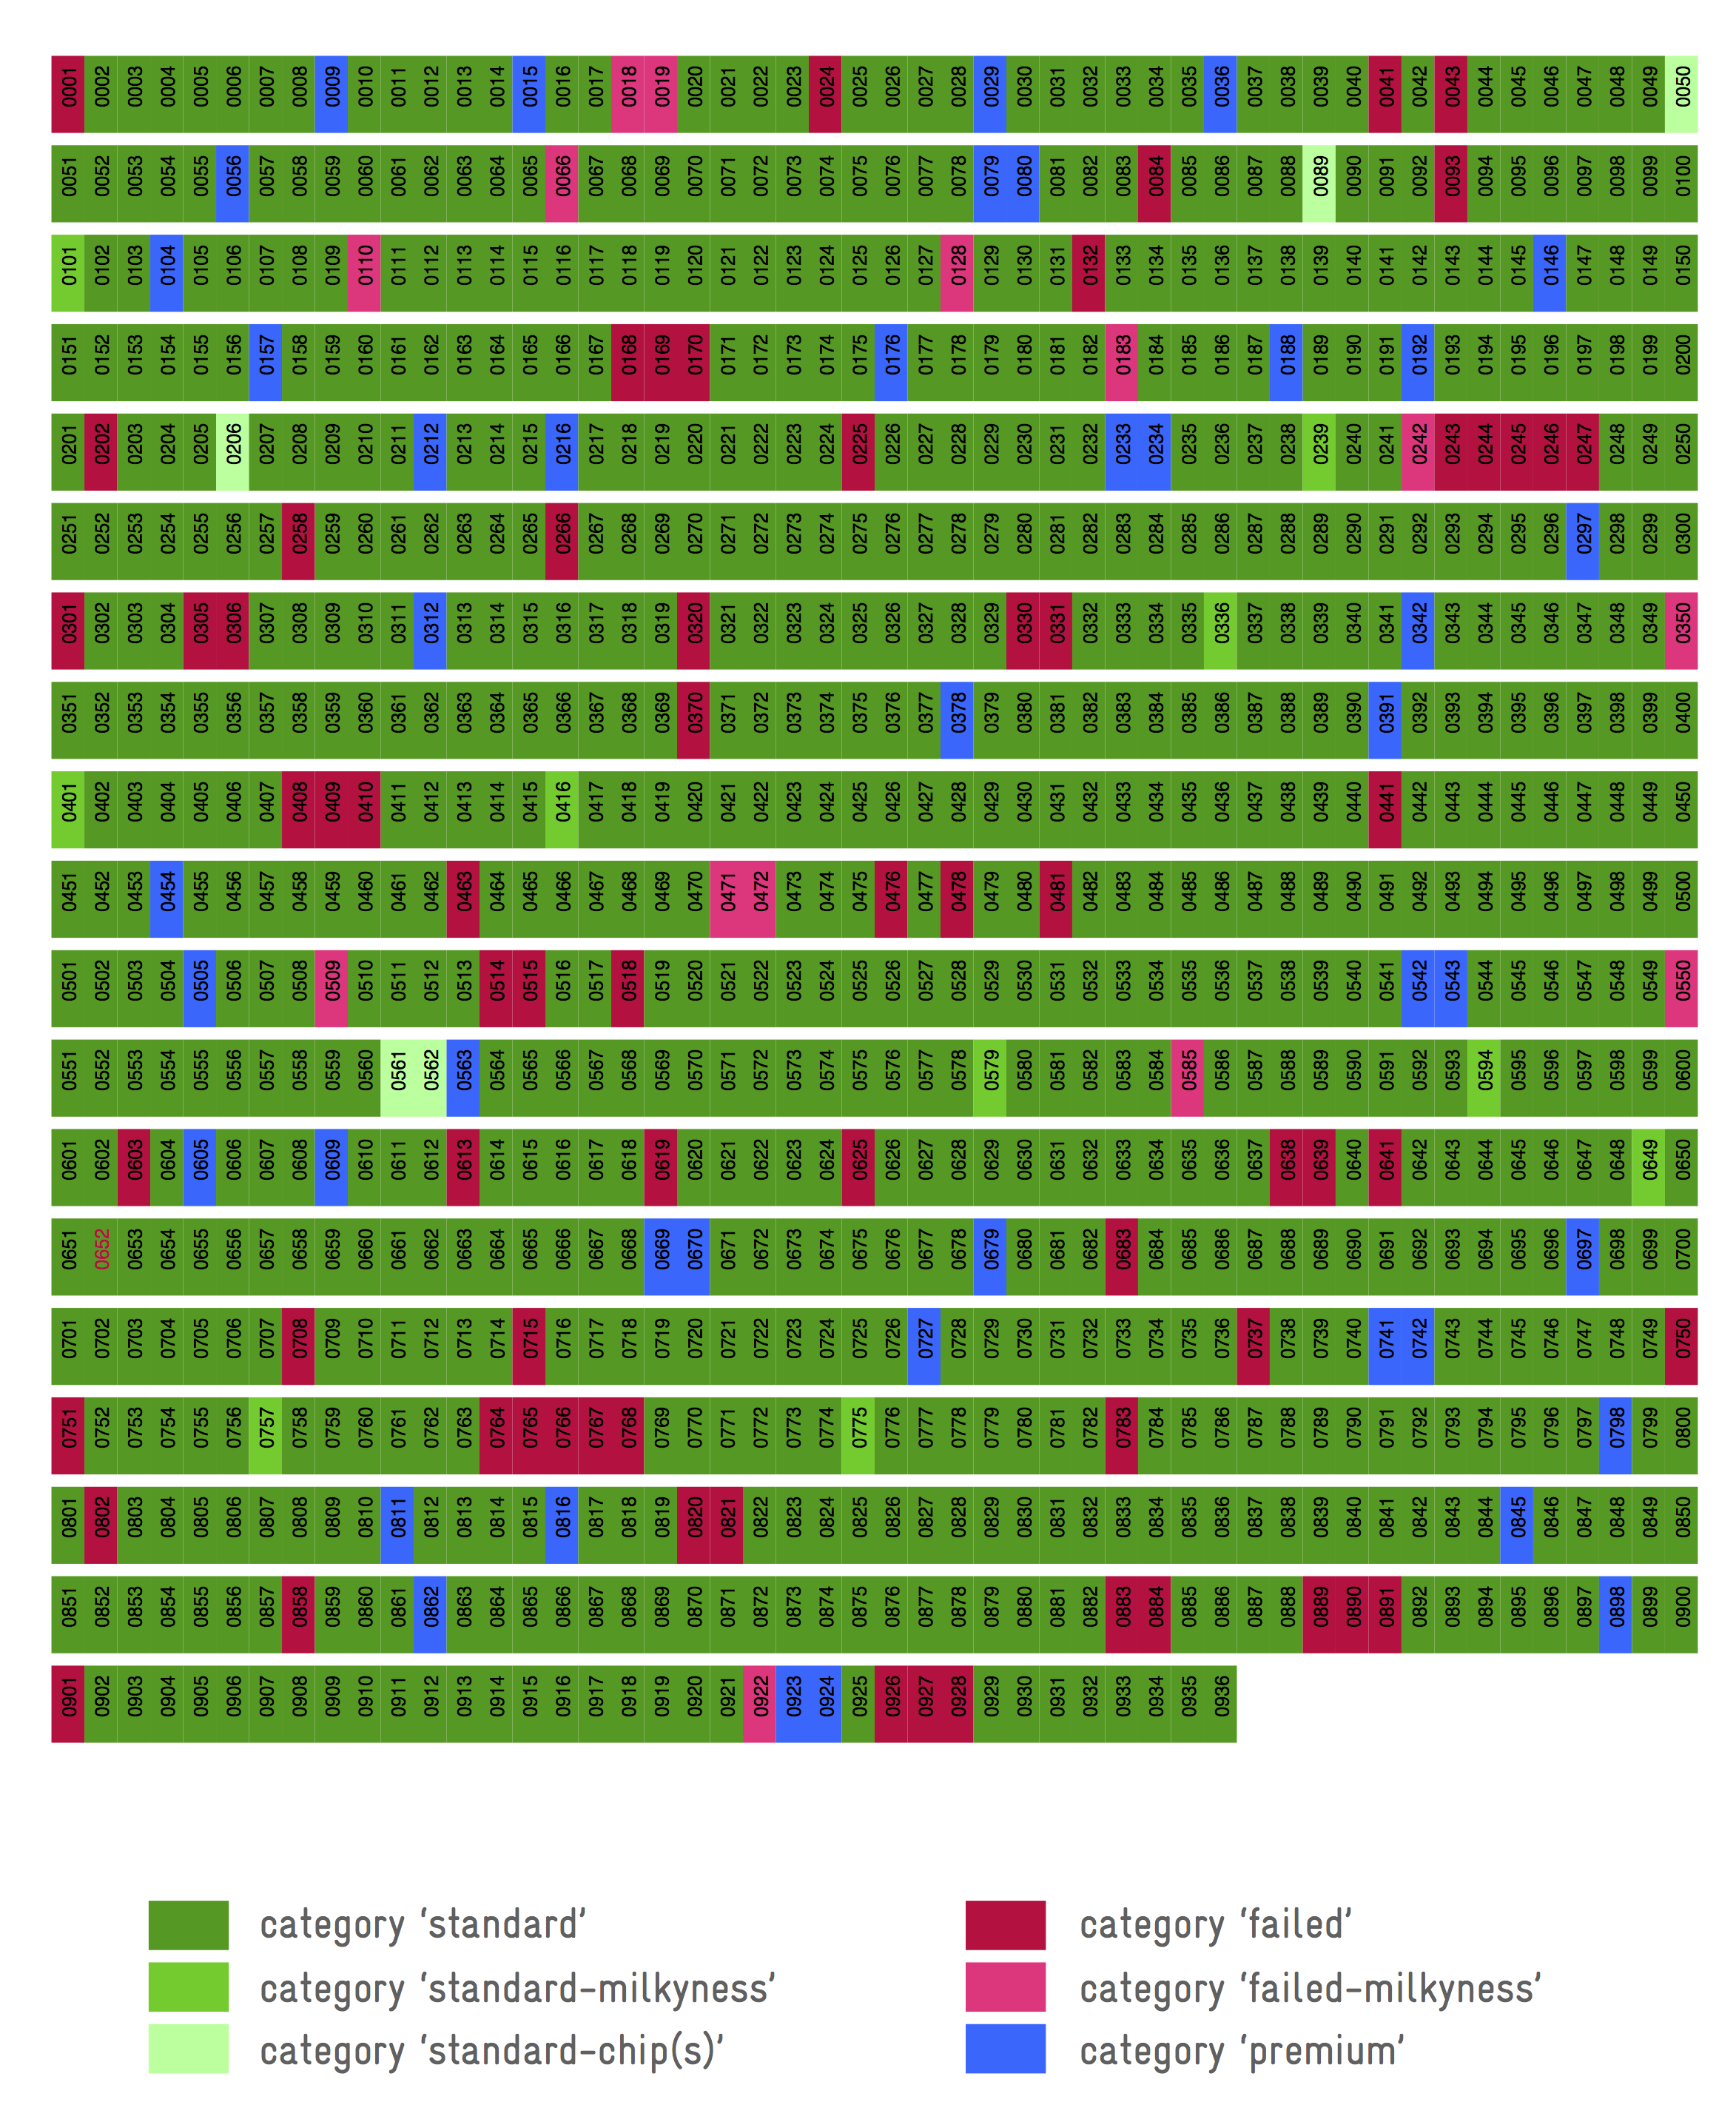
Pieces are picked from the input tray by a robot and guided through the inspection stages, where internal faults are captured and analysed in detail. The system then assigns each part to PASS, FAIL or custom, operator‑defined categories and places it into the corresponding output tray. SapphiroScan™ keeps a record of every defect’s geometry, making it easy to track trends across batches, furnaces, polishing lines or suppliers.
The operator can fine‑tune defect‑detection parameters (such as size, type and location thresholds) to match internal standards. The software automatically recognises and colour‑codes basic defect types – bubbles, structures, clouds (smoke) and others. See typical examples in the defect library.
Operator can automatically generate a PDF report for each batch or time period. It documents qualty metrics for traceability and reporting.
Working modes
SapphiroScan™ offers several quality control scenarios which may be further customized depending on the client’s requirements:
Sorting mode. Fast raw‑material grading for large‑scale production and batch comparison, with automatic defect marking on each piece and sorting to output trays according to the client’s quality specifications. It ensures that only high‑quality material is processed further. This mode supports multiple quality standards that the operator can switch in GUI.


3D tomography mode. Performs in‑depth Z‑scanning to build a 3D defect map for each piece. Inspected material is sorted into output trays according to usability for specific applications This mode is typically used for sophisticated shapes and for studying detailed defect morphology. Minimum thickness limitations applies.
Manual mode. Displays the detected defect pattern and waits for operator PASS/FAIL decision. The operator can move the piece within the scan area to explore its different depth levels, which helps in evaluating borderline cases and studying defect morphology.
Advantages
Sapphire manufacturers have historically relied on human‑eye inspection of watch covers. SapphiroScan™ automated quality control offers much greater objectivity, flexibility and cost efficiency, especially at high production volumes.
Automated testing is particularly powerful when combined with refractive‑index‑matching technology, where surface reflectivity and absorption are reduced close to zero, so complex shape and a surface roughness no longer mask internal defects.
The higher the downstream processing costs (grinding, polishing, metallisation), the greater the savings you can realise by scanning pre-forms before these stages.
Estimate your potential Return‑on‑Investment now with our ROI calculator online.
Dimensions
741 x 741 x 895 mm (WxLxH). Weight 70 kg.

